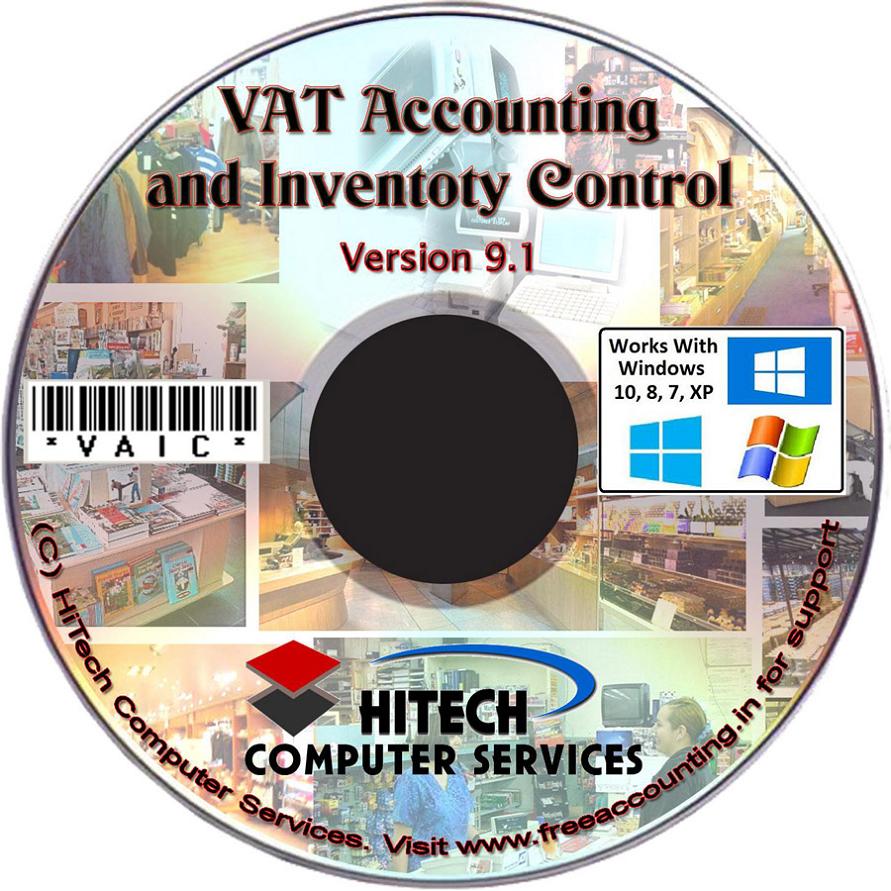
Vat Accounting and Inventory Control
Business Software for trading houses
Installation Of The Program
The HiTech software setup program installs the program without any problems. The process is mostly automated and you are required to confirm the various settings.
Before You Begin
Please make sure your computer meets the following requirements:
System Requirements:
To use VAT Accounting and Inventory Control software you need a PC with:
Pentium III or higher processor 128 MB of RAM 100 MB available hard-disk space required VGA or Higher Resolution monitor Mouse A parallel port in computer to connect the hardware port lock Windows 98/2000/XP operating system.
Running Setup Program:
1.Click the start button, click Run and then proceed to step.
2. In the opened Box enter the path and file name of the setup file. That is type the CDROM letter followed by a colon (:) backslash and the word setup For Example: C:\setup
InstaRun.gif
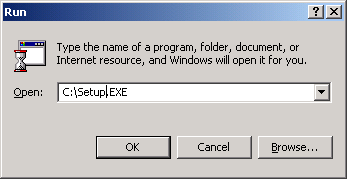
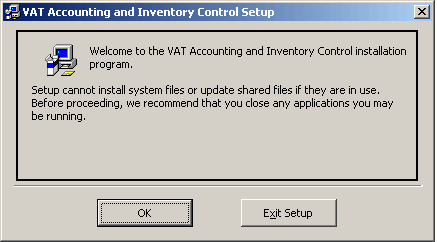
3. Click OK. The HiTech Business Software setup wizard starts. Follow the instructions that appear. It is important to note that Setup program can not install the files that are in use. So you should stop running all other programs and exit them at the time of running setup. If you do not do this you may get "File Access" errors that shall be corrected when you terminate any running programs using the file concerned.
InstaWelc.gif
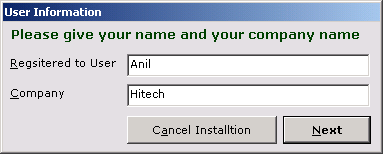
4.When you are prompted to give your name and company name please provide this information to personalize your copy of the software. InstaUser.gif
5.If you have used the program earlier then you can save the company setup file during installation. If you choose not to do so the company setup file will be overwritten. Even when the company setup file is overwritten the data will remain safe. When you setup a company with the same name old data will be used. To save company setup file during installation answer yes to the following dialogue which appears during installation.
6.The program by default is installed in a sub-directory within the "Program Files" directory created by windows. You have an option to change the name of the directory where the program is installed. When this prompt shows up please press command button marked 'Change Directory'
InstaBeg.gif
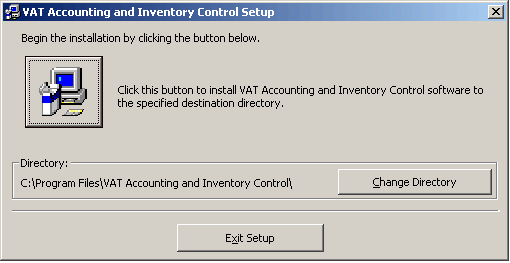
7.The program by default creates a program group box where all the menu commands are placed for quick access. By default the name of the program group is same as the name of the program.
InstaSet.gif
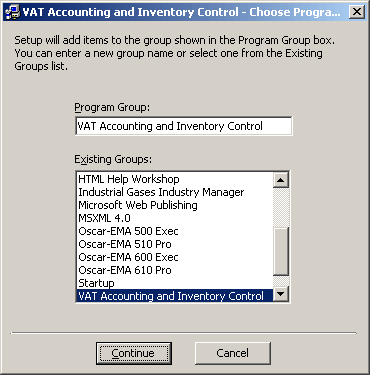
8.Now the installation shall continue. You can see the progress of the file copying and installation of the program in the blue colored installation screen as shown below.
InstaBlue.gif

9.If you get any prompts like the following:
InstaVersion.gif
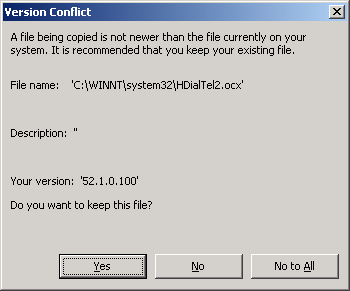
You may choose to overwrite the files if you are getting problems in running the software after installation. When you overwrite the files the old file is replaced by another version.
10.When the program installation is finished you should get a dialogue like the following:
InstaSucc.gif
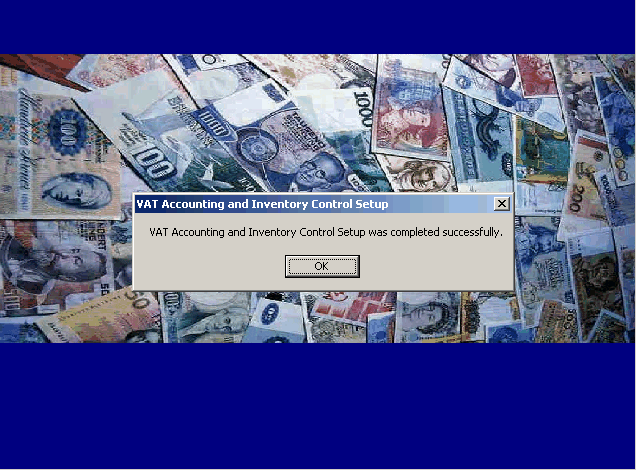
The dialogue will have the name of the HiTech Business software that you are trying to install.
11. Run the program from the new program group in your programs menu. Many other menu items are also setup in the group for ready access to various functions.
12. Set up your company by using NEW command button in open company dialog. In the form which will open you have to press command button SETUP, fill up the name of the company and financial year and the currency name and symbol to be used and then press the command button marked SET FILES AND DIRECTORIES.
Use context sensitive help using F1 key. Please do write to us at technical@hitech-on-web.com if you have any questions or you need help.
All HiTech software run under Windows 98 / Windows NT networking. You can purchase the version licensed for network for the specified number of users. The package has to installed in a different manner on the network. The instructions are given below for installing the network version of the software. There are many settings which you can set / rest to customize printing, tax addition and many other features. Please use the menu command <General Configuration> under sub menu configuration under main menu Modules.
Installation of the Network Version of the software:
Please see the following notes on how to setup the software on the network:
The program works on network under file server architecture. The package (application and data) need to be installed only on one machine. On other machines only system files are needed so that you should install it on workstations/other machine in a temporary directory and remove the directory. System files are copied to the system directory. Since the software will use file server architecture the login is redundant, only thing is that the user should be able to read and write to the program directory.
Please see the guidelines below to install the package on network.
1. On network the package works under File-Server architecture.
2. If you are using server then install first on server in the default program directory. If you are using back-to-back network install on the fastest machine in the default directory as specified during installation.
3. On the client / other machines you only need the systems files so install the program in a temporary directory. System files will be copied to the system directory. So delete this temporary directory.
4. Map the drive on which you have installed in default program directory (server..) onto you client machine using a drive letter. If on server you installed in c:\.... then map this C: drive onto the client machine to a suitable drive letter i.e., F:. Check reconnect at logon.
5. On the client machine change the properties of the icons and the menu items so that the target points to this drive F:. Also change the start up directory for the icon / menu to the directory on F:
6. Run the application. It will run on the drive of the server using the databases on that drive. However, a new instance of application and data files will be created on your local machine automatically. Whole of this procedure is transparent to the user.
7. Do not perform data test from the client machine, it will disrupt other connected users, data test should be performed on server when no other users are connected. Please follow the above procedure to install on network. Identify the server or the machine where program and data files will be installed, delete the program/data files from other machines, on this other machine map the drive letter and point the target as described above.




 Send Email Now
 VAT Ready